Banana Cream Cheese Roll Cake
Try this Banana Cream Cheese Roll Cake recipe! Total time: 50 mins. Easy baking with bananas and cream cheese. Perfect for family gatherings. Serves 8.

- About Banana Cream Cheese Roll Cake
- Secrets Behind Perfect Banana Cream Cheese Roll Cake
- Why You'll Love This Version
- Health & Nutrition Highlights
- Recipe at a Glance
- Perfect Ingredients Selection
- Foolproof Cooking Steps
- Success Guaranteed Tips
- Perfect Presentation
- Storage & Make-Ahead
- Creative Variations
- Expert FAQ Solutions
- Complete Nutrition Guide
- Recipe Card
About Banana Cream Cheese Roll Cake
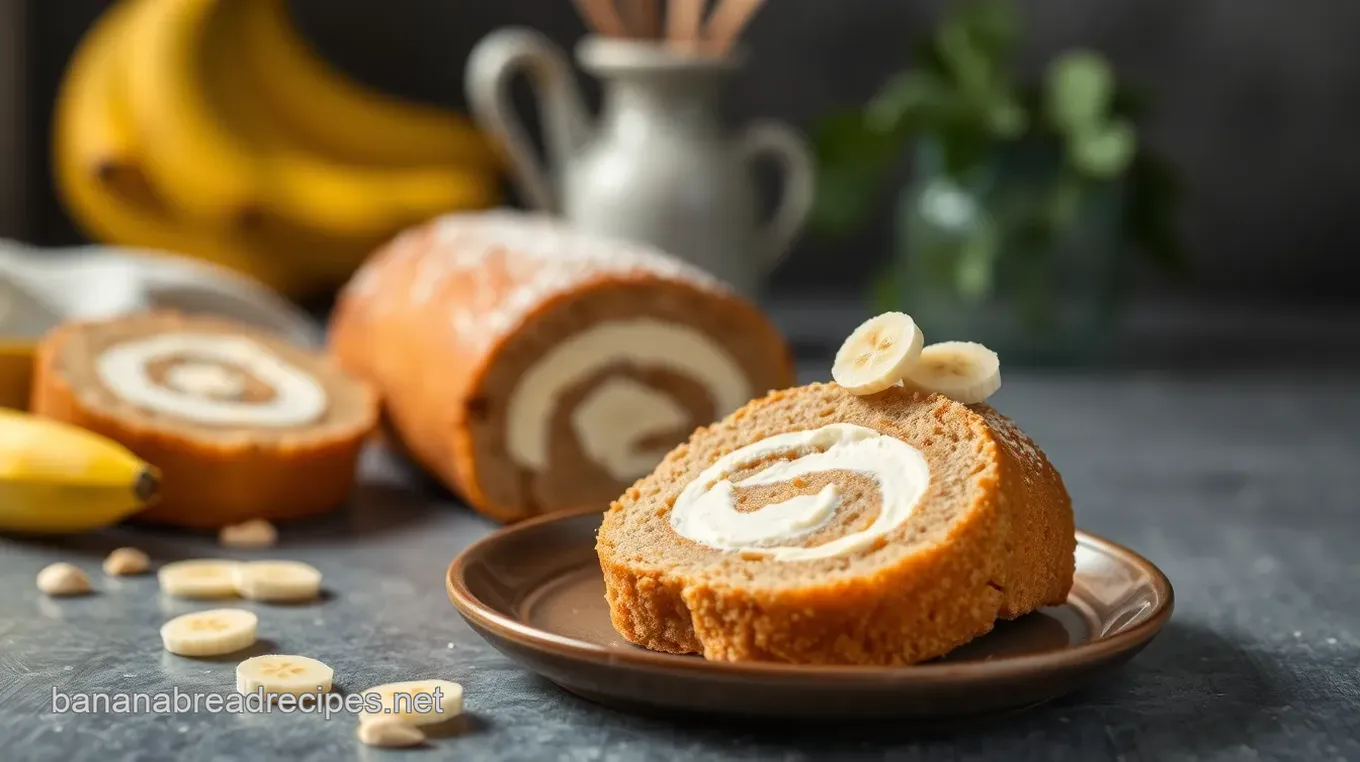
The Banana Cream Cheese Roll Cake is a delightful dessert that marries the rich flavors of ripe bananas with smooth, creamy frosting. This sweet treat has its roots in traditional American baking, where roll cakes became popular due to their versatility and ease of preparation. Originating in the mid-20th century, this style of cake allows for creative fillings and frostings, making it an ideal choice for festive occasions or casual gatherings.
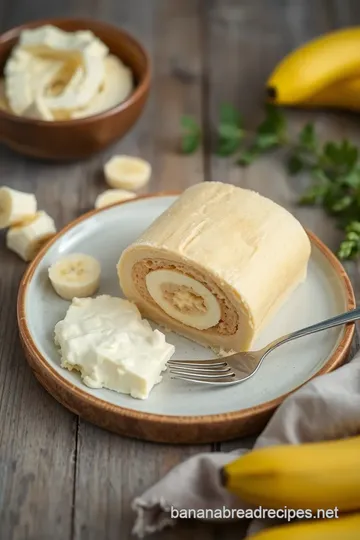
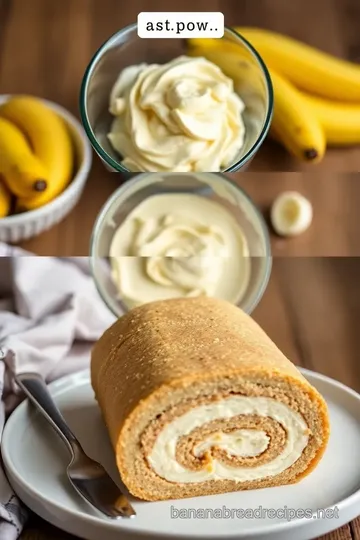
What sets the Banana Cream Cheese Roll Cake apart from other desserts is its unique combination of flavors and textures. The moist banana cake rolls up beautifully around a luscious cream cheese filling, creating an eye-catching dessert that's as pleasing to the palate as it is to the eye. Furthermore, this recipe offers several benefits: it's simple enough for novice bakers yet sophisticated enough to impress guests at any gathering.
Secrets Behind Perfect Banana Cream Cheese Roll Cake
This enchanting dessert boasts a rich culinary heritage that draws inspiration from classic American baking techniques. The origins of roll cakes can be traced back to Europe but have since evolved into various regional adaptations across America. The inclusion of bananas adds a tropical twist that enhances its appeal while providing natural sweetness.
Culturally significant in many households, especially during family gatherings or celebrations, the Banana Cream Cheese Roll Cake symbolizes comfort and nostalgia. Its modern-day popularity can be attributed to social media trends showcasing beautiful homemade creations that inspire bakers everywhere to try their hand at this delectable dessert.
Why You'll Love This Version
You’ll fall head over heels for this version of the Banana Cream Cheese Roll Cake because it features unique flavor combinations that elevate each bite. The marriage of sweet bananas with tangy cream cheese creates a harmonious balance that's utterly irresistible. Plus, our foolproof techniques ensure even novice bakers can achieve perfect results every time.
Our expert-tested method guarantees success—no more worrying about cracking or tearing when rolling your cake! With helpful time-saving tips included throughout the process, you’ll find yourself whipping up this delightful treat quickly and effortlessly.
Health & Nutrition Highlights
The Banana Cream Cheese Roll Cake not only satisfies your sweet tooth but also comes packed with key nutritional benefits. Bananas are an excellent source of potassium, vitamin C, and dietary fiber—making them a wholesome addition to any dessert recipe. Meanwhile, cream cheese provides calcium along with beneficial fats when enjoyed in moderation.
For those with dietary considerations such as gluten sensitivity or vegan preferences, there are alternative ingredient options available without sacrificing flavor or texture. Incorporating whole grain flours or plant-based substitutes allows everyone to indulge guilt-free while enjoying balanced nutrition facts tailored just for them.
Recipe at a Glance
Ready to dive into making your own Banana Cream Cheese Roll Cake ? Here’s what you need to know before getting started:
- Total Preparation Time: Approximately 1 hour (including cooling time)
- Skill Level Required: Beginner-friendly
- Serving Size Details: Serves 8–10 people
- Cost Efficiency: Budget-friendly ingredients make it easy on your wallet!
With all these enticing elements combined into one fantastic recipe format—a delicious blend waiting just for you—the Banana Cream Cheese Roll Cake promises not only satisfaction but joy as well! So gather your ingredients today; let’s celebrate life’s sweetest moments together!

Perfect Ingredients Selection
Premium Core Ingredients
When it comes to crafting the perfect Banana Cream Cheese Roll Cake, selecting high-quality core ingredients is essential.
-
Granulated Sugar (1 ½ cups) : Opt for fine granulated sugar that dissolves easily in the batter. Check for a bright white color and avoid any clumping, indicating freshness.
-
Unsalted Butter (½ cup plus 4 tablespoons) : Choose high-fat content butter for a rich flavor. Look for brands labeled as “sweet cream” and always check the expiration date.
-
Eggs (2 large) : Fresh, organic eggs are ideal; they should feel heavy and have uncracked shells. Pay attention to their color—yolk color can indicate quality but varies with breed.
-
All-Purpose Flour (2 cups) : Select a finely milled flour with no additives. It should feel smooth between your fingers and be stored in an airtight container to prevent moisture absorption.
-
Overripe Bananas (3 medium-sized) : For optimal sweetness and flavor, choose bananas that are heavily speckled or nearly brown; these will mash down smoothly into the batter.
Signature Seasoning Blend
The right seasoning can elevate your Banana Cream Cheese Roll Cake from good to extraordinary.
-
Baking Soda (1 teaspoon) : Ensure that you use fresh baking soda—check the expiration date on the package—as old baking soda may not provide sufficient leavening power.
-
Salt (1 teaspoon) : Use kosher salt for its larger grain size which enhances flavors without overpowering them. Always store it in a cool, dry place away from humidity.
-
Vanilla Extract (1 ½ teaspoons total) : Pure vanilla extract adds depth of flavor; avoid imitation versions as they often contain artificial ingredients. Store it in a dark bottle away from sunlight for longevity.
Smart Substitutions
There’s no need to fret if you find yourself short on some ingredients; smart substitutions can keep your cake delicious!
-
Sugar Alternatives : Coconut sugar or honey can replace granulated sugar at a ratio of 1-to-1 but may slightly alter texture.
-
Butter Substitutes : If you're out of unsalted butter, consider using margarine or even coconut oil as substitutes while keeping an eye on consistency during mixing.
-
Gluten-Free Options : Swap all-purpose flour with gluten-free blends designed for baking; ensure they contain xanthan gum or add it separately if required.
Kitchen Equipment Essentials
Having the right tools at hand makes preparation smoother and more enjoyable when making this delectable roll cake.
Must-Have Tools:
-
Jelly Roll Pan – A standard size is typically around 15x10 inches which allows even baking.
-
Mixing Bowls – A set of varying sizes is essential for combining wet and dry ingredients separately before mixing them together.
-
Electric Mixer – Whether handheld or stand mixer, this tool will make creaming butter and sugar easy!
-
Parchment Paper – This non-stick surface prevents sticking during baking and rolling up your cake seamlessly afterward.
-
Sifter/Strainer – Perfectly aerates flour before adding it into your mixture ensuring lighter cakes!
Pro Ingredient Tips
To guarantee success with every bake, follow these pro tips that focus on ingredient selection:
Selection Secrets:
Always inspect produce carefully—overripe bananas should look freckled rather than bruised—and opt for local brands whenever possible to support sustainability efforts while ensuring freshness!
Quality Markers:
Look out for freshness indicators like sell-by dates on dairy products such as cream cheese—this ensures maximum taste when frosting!
Storage Solutions:
Store leftover mashed banana tightly sealed in an airtight container in your fridge up to two days max! As for baked leftovers wrap them well prior refrigerating so they remain moist longer!
Money-Saving Tips:
Buying bulk quantities of staples like flour or sugar saves costs over time! Also consider investing into reusable silicone bags instead of single-use plastic ones—they’re eco-friendly too!
By focusing on premium core ingredients alongside signature seasonings while incorporating smart substitutions where necessary ensures each bite stays flavorful yet accommodating diverse dietary needs—all contributing towards creating unforgettable edible masterpieces!
Foolproof Cooking Steps
Essential Preparation Steps
Before diving into your recipe, it's vital to practice mise en place , which means having all ingredients prepped and ready. Start by measuring out your ingredients—this includes chopping vegetables, weighing out spices, and preparing any liquids needed. This step ensures a smooth cooking process without the chaos of searching for items mid-recipe.
Next, consider prep techniques like washing produce thoroughly and peeling when necessary. For herbs, strip the leaves from stems before chopping for more efficient use. If using proteins, ensure they are thawed if frozen beforehand; this can save you significant time during cooking.
Effective time management is key. Allocate specific times for each stage of the cooking process to avoid feeling rushed or overwhelmed. For example, if a dish requires marinating meat for an hour while preparing sides, begin marinating first so that everything finishes at the same time.
Lastly, maintain a tidy workspace with good organization tips ; keep tools and utensils within reach but not cluttered on the countertop. Use multiple cutting boards to separate raw meats from vegetables to prevent cross-contamination.
Professional Cooking Method
To execute your recipe flawlessly, follow a clear step-by-step process tailored to your dish's requirements. Begin by heating your oven or stovetop according to the recipe's guidance—usually around 350°F (175°C) for baking or medium heat for sautéing.
Pay attention to temperature control throughout cooking; use an instant-read thermometer where appropriate (like checking meat doneness), ensuring accuracy in achieving desired results. Consistent temperature will help develop flavors properly without burning or undercooking components.
Timing precision is crucial as well; keep track of how long each phase takes—whether you're simmering sauce or allowing dough to rise—to achieve optimal textures and flavors in every element of your meal.
As indicators of success during this stage: look for visual cues such as browning on proteins or bubbling sauces indicating readiness. These signs often suggest that you're on track toward perfect results!
Expert Techniques
Incorporate professional methods throughout your cooking process by mastering critical steps unique to specific recipes—for instance: blanching vegetables before sautéing retains their vibrant color and crunchiness while enhancing flavor absorption later on.
Precision points include adjusting seasoning gradually rather than all at once; taste frequently! With each addition—even salt—take notes on how adjustments affect overall flavor profile so you can replicate successes next time seamlessly.
For quality checks: assess finished dishes based not only on appearance but also texture and aroma! Dishes should have inviting scents corresponding with expected flavors—a burnt smell signals something went wrong early in preparation!
Success Strategies
Troubleshooting tips can be invaluable if things don’t go as planned during cooking sessions: If sauces seem too thick? Add broth gradually until reaching desired consistency! Conversely, if they're too thin? A quick cornstarch slurry may work wonders!
Implement quality assurance steps after completing preparations—a final tasting is essential before serving! Make sure there’s balance among sweet-sour-salty-umami elements present within dishes since this impacts overall enjoyment factor immensely!
For perfect results guide: Always finish with thoughtful touches like fresh herb garnishes adding brightness alongside drizzles showcasing rich oils enhancing presentation dramatically yet simply elevates home-cooked meals’ elegance level considerably!
Finally, remember these fundamental principles outlined above through consistent practice will transform everyday cooks into confident chefs capable of creating extraordinary culinary experiences effortlessly over time!

Success Guaranteed Tips
Achieving the perfect Banana Cream Cheese Roll Cake is easier than you think. Start by ensuring your ingredients are at room temperature; this helps them blend better, resulting in a smoother batter. When creaming the butter and sugar, take your time—aim for a light, fluffy texture that incorporates air for a tender cake.
Expert techniques like using overripe bananas ensure maximum sweetness and moisture in your cake. Additionally, remember to sift your flour before measuring; this prevents overpacking and keeps your cake light. A common kitchen wisdom tip is to use parchment paper to line your baking pan—it makes removal seamless and protects against sticking.
For success guarantees, always check for doneness a few minutes early by inserting a toothpick into the center of the cake. If it comes out clean or with just a few crumbs attached, it’s ready!
Perfect Presentation
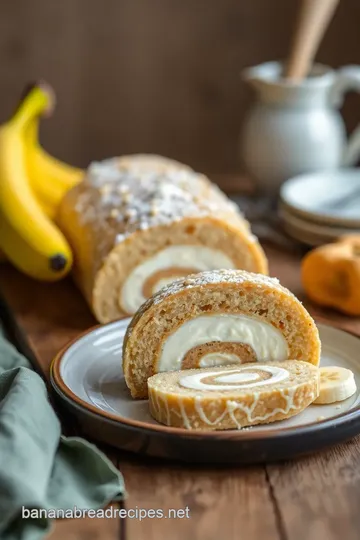
Plating techniques can elevate even simple desserts like this roll cake. For an elegant presentation, slice the rolled cake into equal pieces and arrange them on a decorative platter. Garnish ideas include fresh banana slices or mint leaves that add color and freshness.
Serving suggestions might involve pairing each slice with whipped cream or drizzling chocolate sauce on top for added indulgence. To enhance visual appeal further, dust each piece lightly with confectioners’ sugar right before serving—the contrast against the cream cheese frosting creates stunning results that invite second helpings!
Storage & Make-Ahead
Storage guidelines play an essential role in maintaining quality after baking. Wrap any uneaten portions tightly in plastic wrap or aluminum foil to avoid drying out; storing in an airtight container works well too!
For preservation methods, refrigerate leftover slices where they can stay fresh for up to three days without compromising flavor or texture. Reheating instructions are straightforward: simply warm individual servings gently in the microwave—avoid overheating as it can affect consistency.
To enjoy later without losing its charm, consider making ahead of time—this dessert holds well when refrigerated overnight prior to serving!
Creative Variations
Explore flavor adaptations by incorporating nuts such as walnuts or pecans into either the batter or frosting; they add delightful crunch! Dietary modifications could include substituting gluten-free flour if necessary while still yielding great results.
Seasonal twists may involve adding spices like cinnamon during fall months—or try infusing flavors such as coconut extract alongside vanilla for tropical flair! Lastly, regional variations like adding matcha powder give unique character while keeping true to its original form.
Expert FAQ Solutions
Common concerns often arise about achieving just-right texture: if you find cracks upon rolling up your cake post-baking—don’t worry—it happens! Ensure cooling completely on wire racks aids stability when unrolling later on.
Here’s an expert answer: if you’re worried about sogginess from filling seeping through dough during storage—opt for thicker fillings which stand firm even after refrigeration time passes!
A troubleshooting guide includes checking oven calibration regularly; inaccurate temperatures lead directly towards undesired outcomes during baking sessions—a small investment pays off big-time!
Lastly, success tips encompass patience: allow enough cool-down periods before slicing so flavors meld beautifully within layers rather than oozing outward prematurely upon first cut!
Complete Nutrition Guide
Understanding nutrition enhances enjoyment of treats while being mindful of dietary goals! A detailed breakdown reveals that one slice typically contains around 250 calories packed with carbohydrates from bananas but balanced nicely with protein from cream cheese frosting.
Health benefits abound—as bananas provide potassium vital for muscle function alongside fiber aiding digestion—not only delicious but nutritious too! Dietary information highlights low saturated fat content thanks largely due unsalted butter usage throughout preparation phases promoting heart health overall!
Portion guidance suggests indulging moderately since these tasty delights are rich yet satisfying—a single serving suffices most cravings perfectly without derailing healthy eating habits entirely!

Banana Cream Cheese Roll Cake Card

⚖️ Ingredients:
- 1 ½ cups granulated sugar
- ½ cup plus 4 tablespoons unsalted butter, divided
- 1 teaspoon baking soda
- 1 teaspoon salt
- 2 large eggs
- 1 ½ teaspoons vanilla extract, divided
- 3 overripe bananas, mashed
- 2 cups all-purpose flour
- Vegetable oil (for preparing baking sheet)
🥄 Instructions:
- Step 1: Preheat your oven to 325°F (163°C).
- Step 2: In a large mixing bowl, cream together ½ cup of butter, 1 ½ cups of sugar, and the eggs until light and fluffy.
- Step 3: Add in the baking soda, salt, and 1 teaspoon of vanilla extract. Mix well.
- Step 4: In a separate bowl, mash the bananas until smooth with no large lumps visible. Incorporate them into the batter and mix thoroughly.
- Step 5: Gradually add flour to the banana mixture—½ cup at a time—stirring well after each addition until fully combined.
- Step 6: Line a jelly roll pan or rimmed baking sheet with parchment paper trimmed to fit it; lightly grease with about 1 teaspoon of vegetable oil.
- Step 7: Pour the batter into your prepared pan and spread it evenly.
- Step 8: Bake in preheated oven for about 20–30 minutes, or until lightly browned and cake springs back when touched lightly in center.
- Step 9: Once baked, immediately invert cake onto a clean kitchen towel dusted with confectioners sugar; carefully remove parchment paper.
- Step 10: Starting from one short end, gently roll up the cake within the towel while its still warm; cool completely on a wire rack.
Previous Recipe: Bake Overripe Bananas into Delicious Bread
Next Recipe: Bake Banana Blueberry Bread Deliciously Fast
